

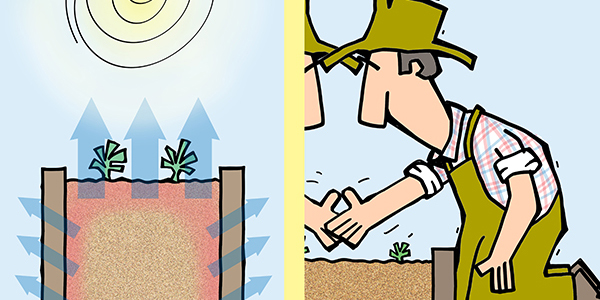
This page explains how the width and heights of raised beds influence temperature, evaporation and accessibility. RAISED BED WIDTHS Ideally

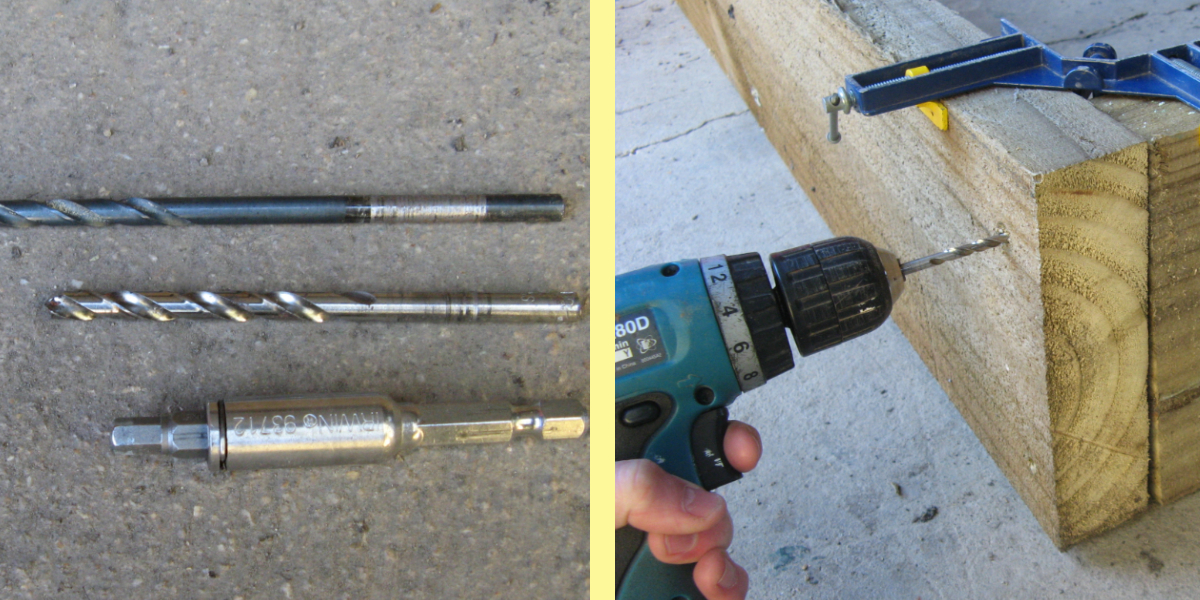
While there is a variety of building materials that can be used to make raised beds no specific product stands
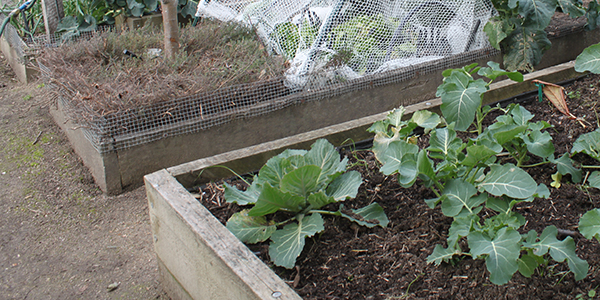
An excellent way to grow vegetables is in beds with raised borders, usually called raised beds. This page looks at