


Historical Women’s Weekly seed planting guide circa 1974. To make it easier to understand it has been reformatted, though it
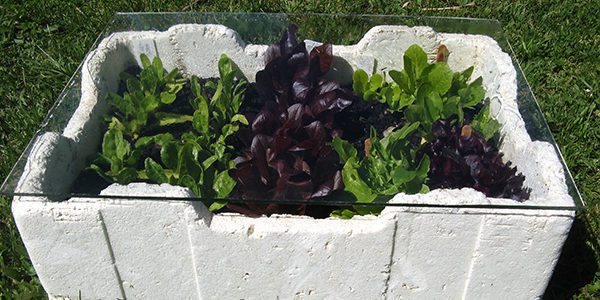
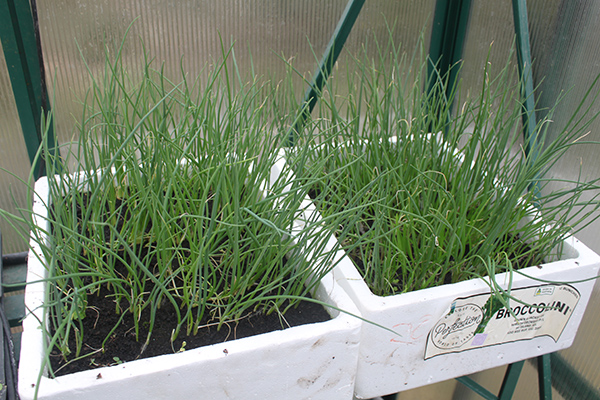
The easiest way to grow your own seedlings is with a Styrofoam seedling propagation box. materials required A STYROFOAM VEGETABLE
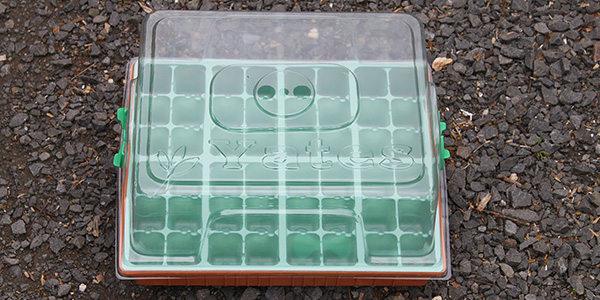
The standard commercially made seedling propagating boxes that are widely available at Australian nurseries and hardware stores (such as the