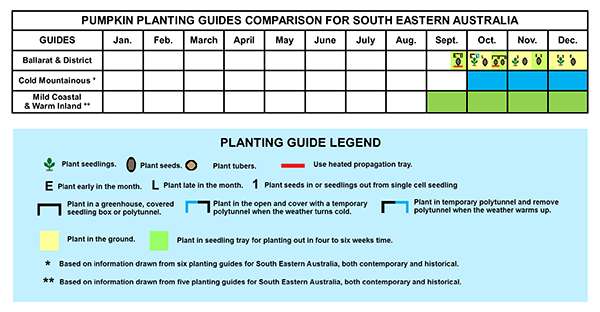


This Mild Coastal & Warm Inland monthly planting guide is based on information drawn from six planting guides for South
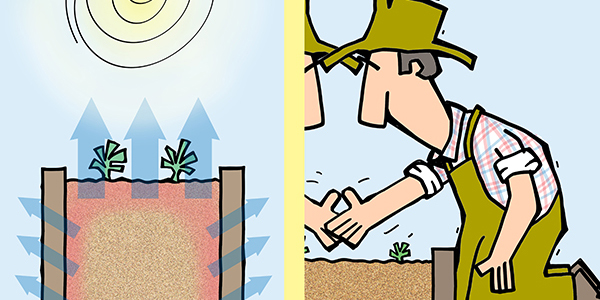
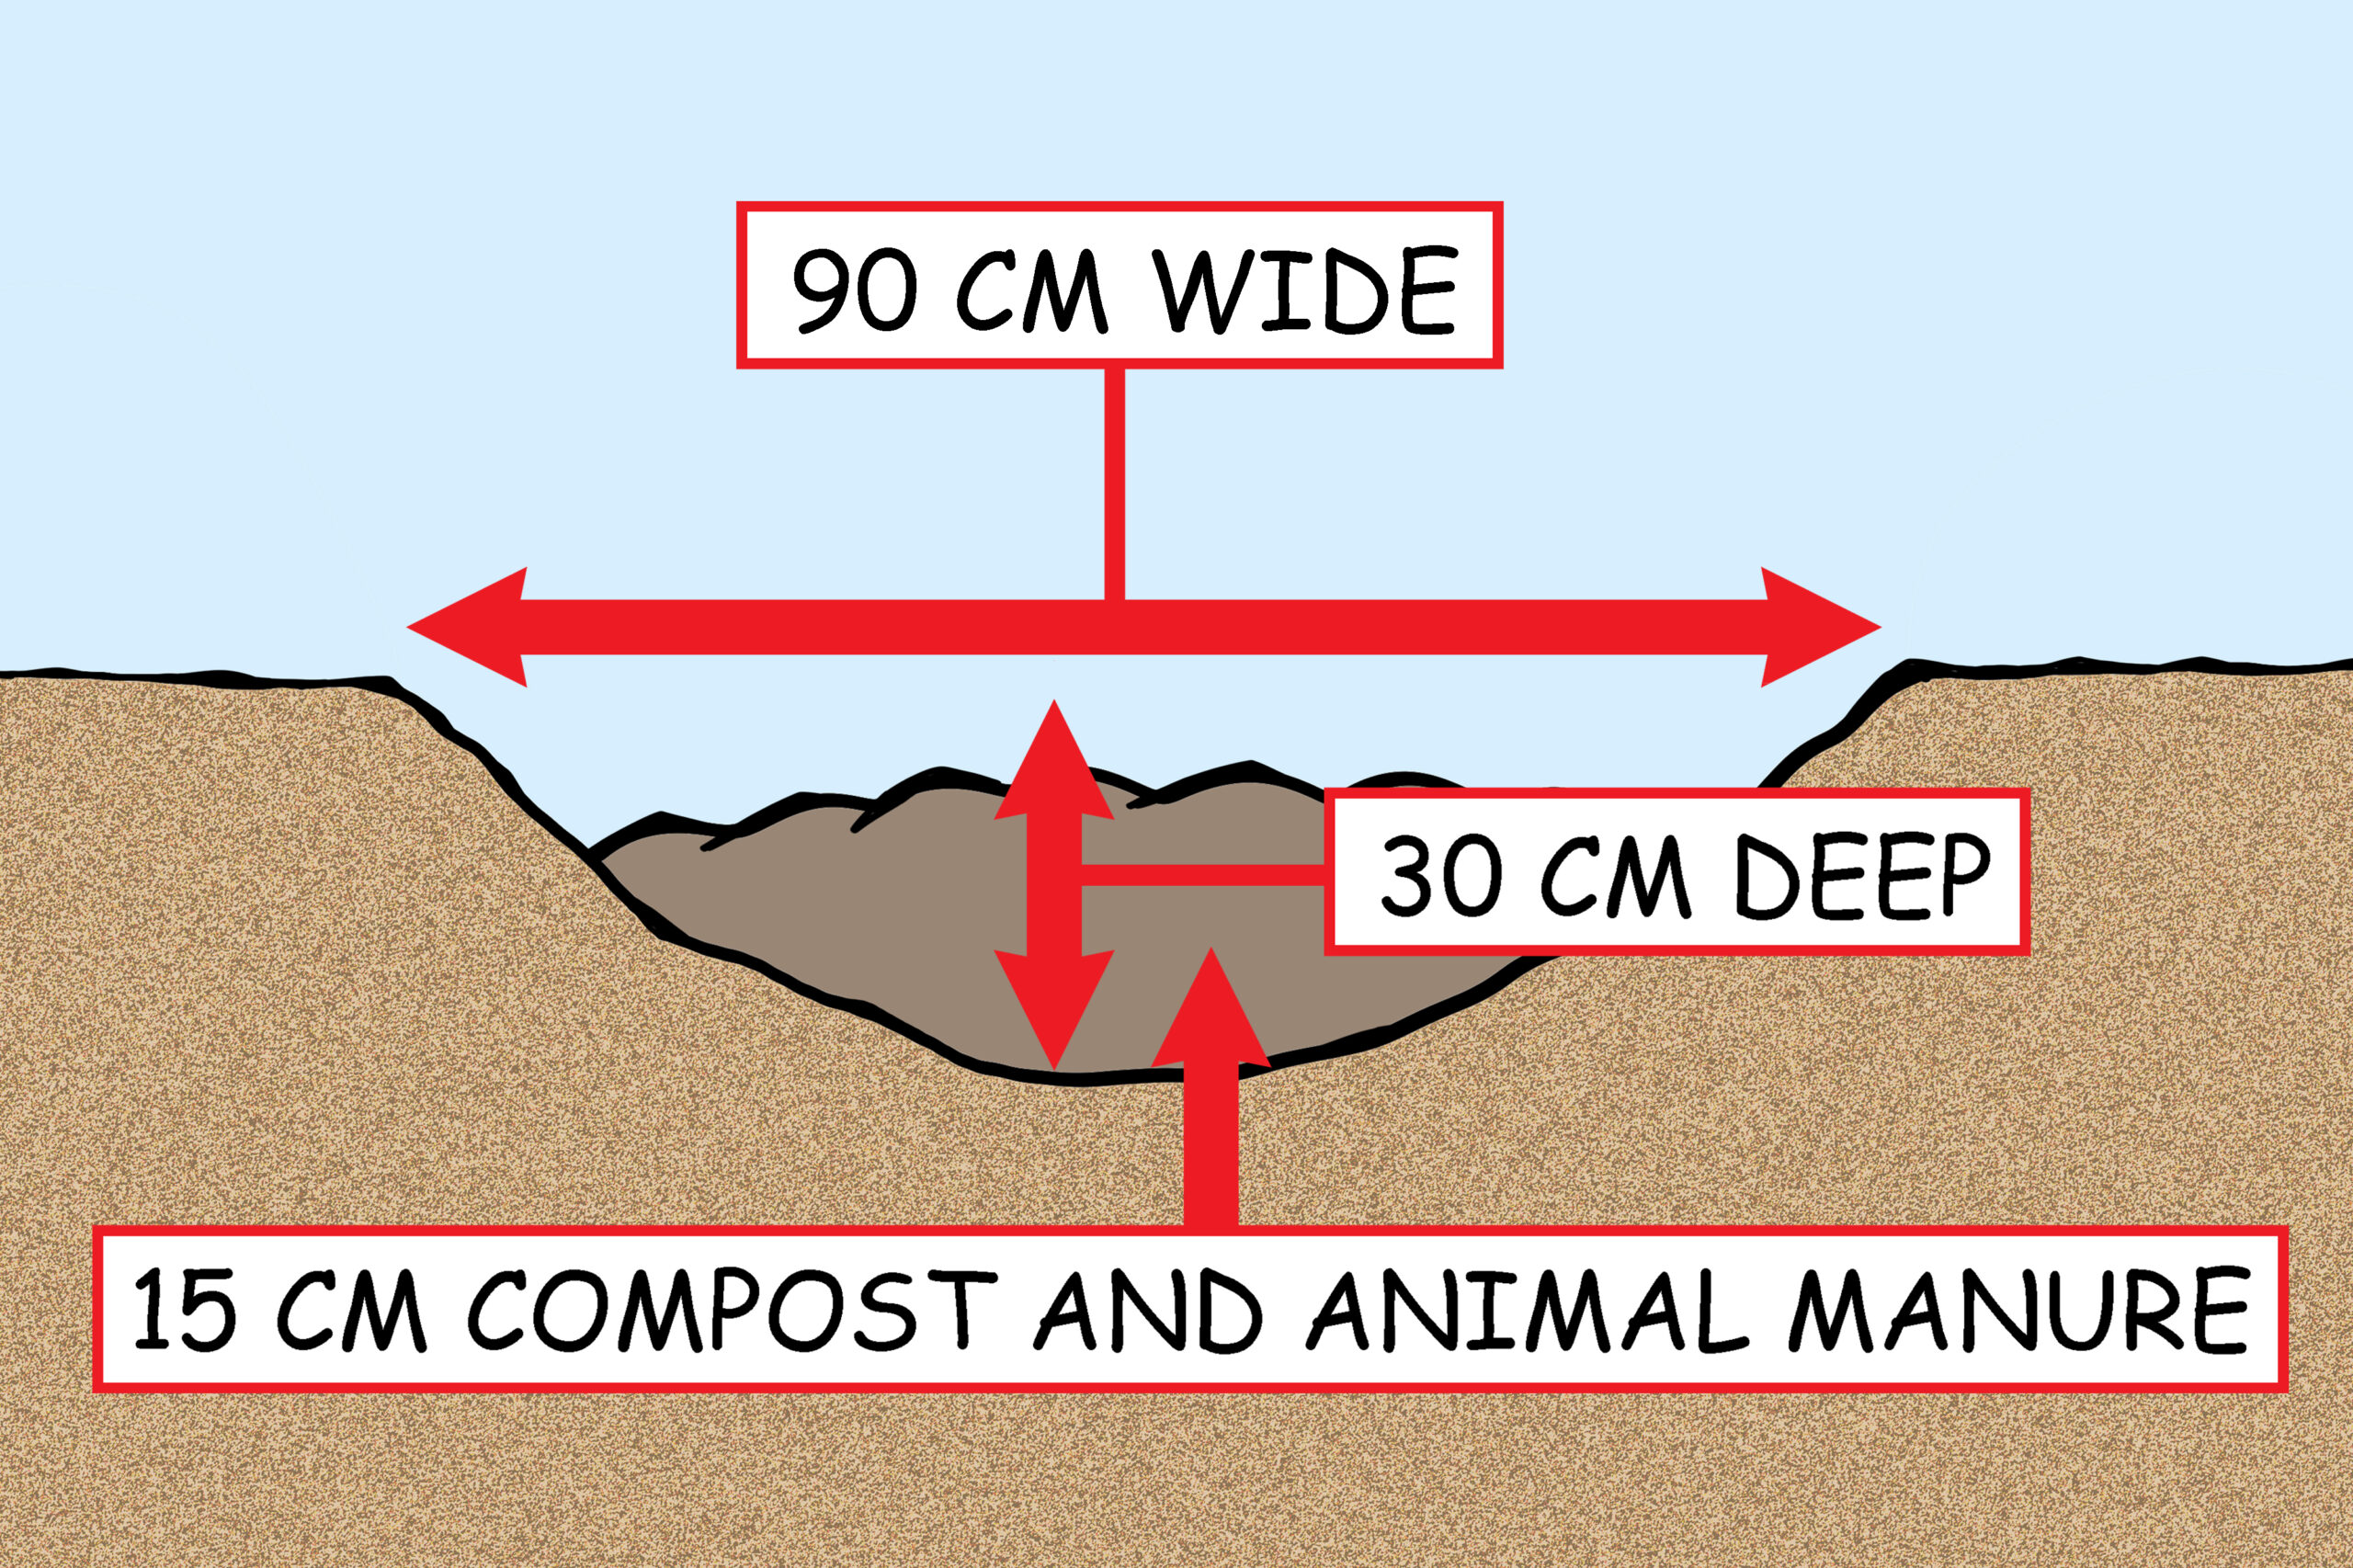
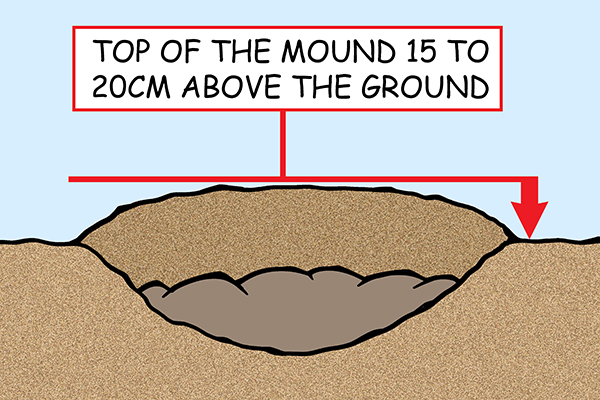
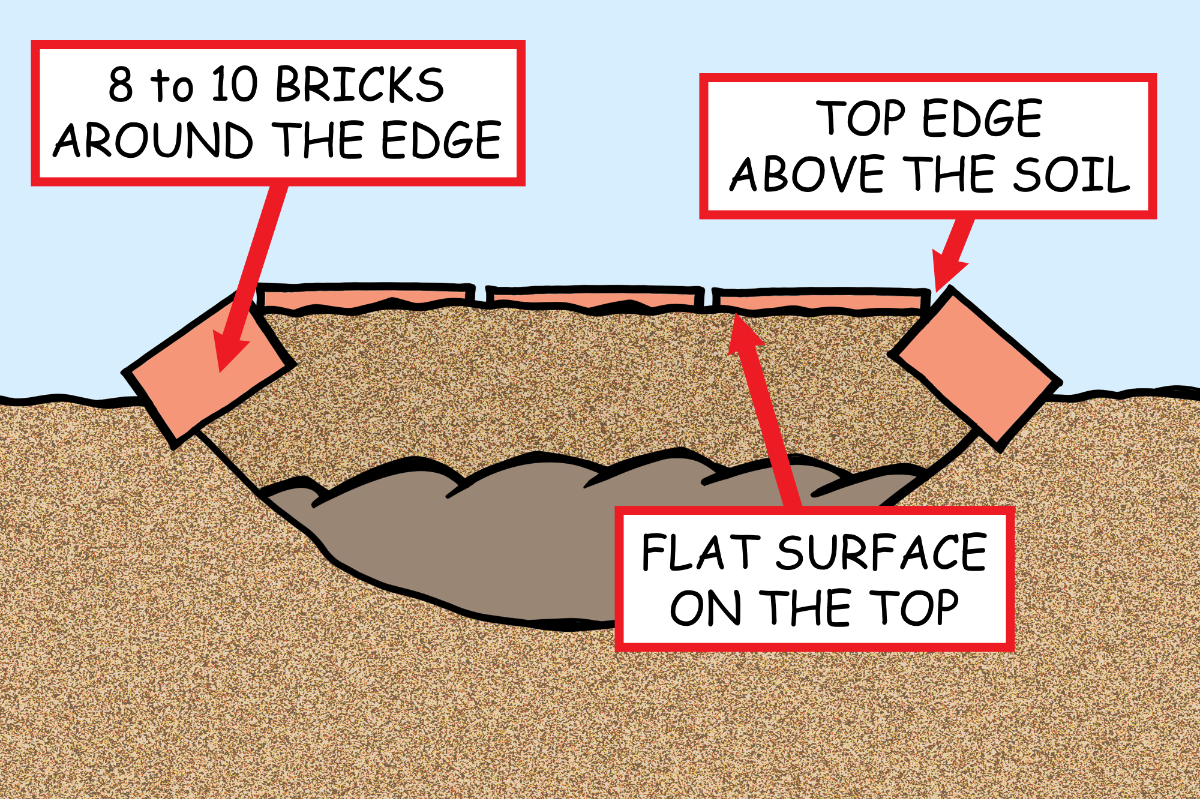
This page explains how the width and heights of raised beds influence temperature, evaporation and accessibility. RAISED BED WIDTHS Ideally
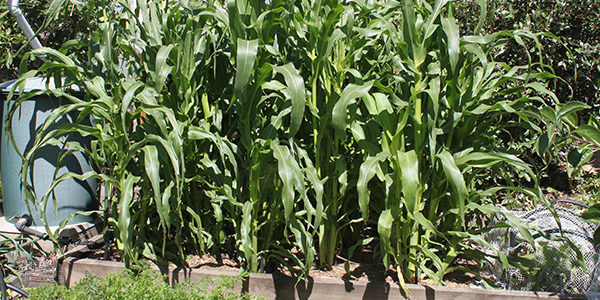
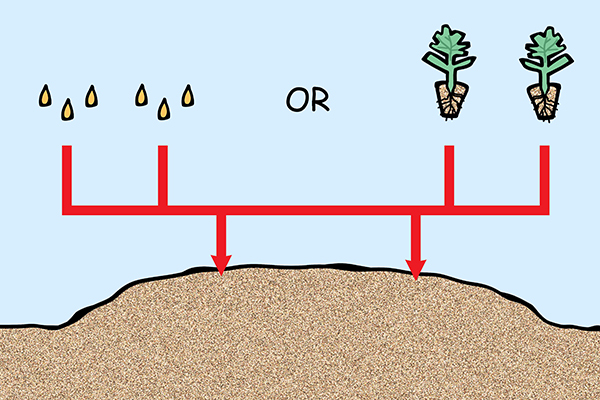
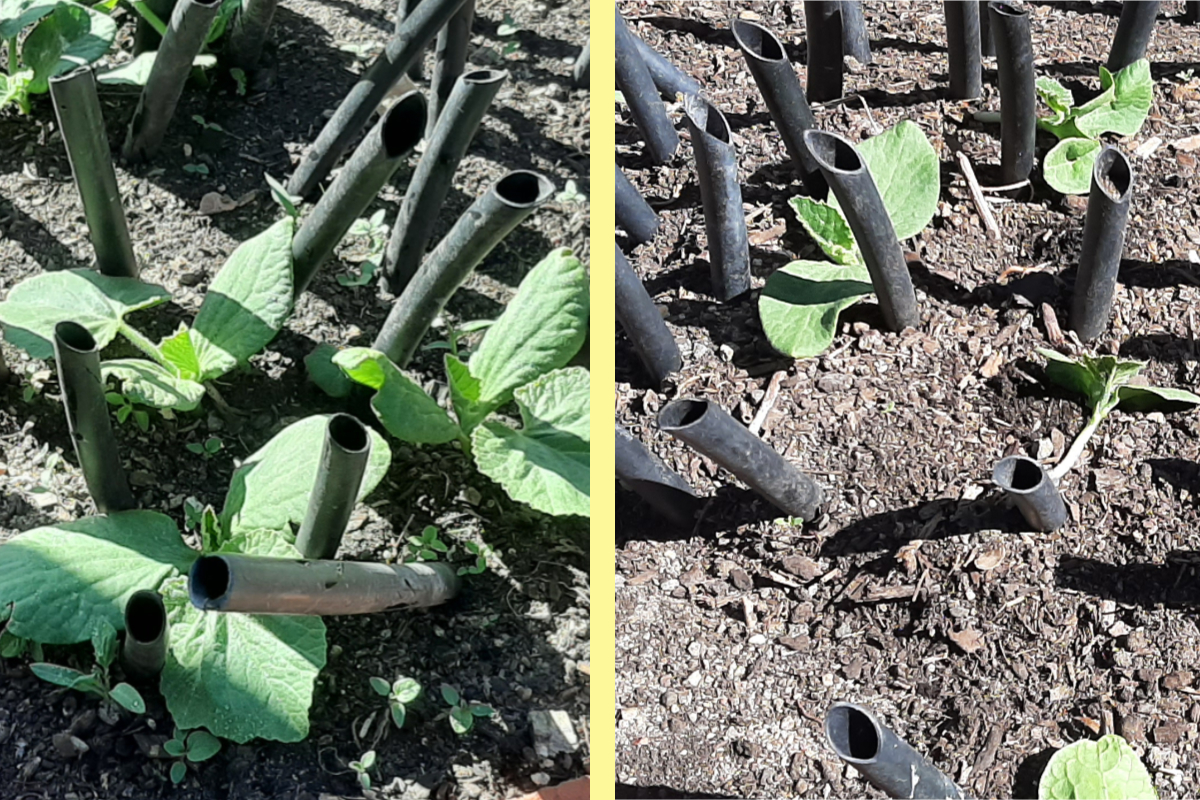
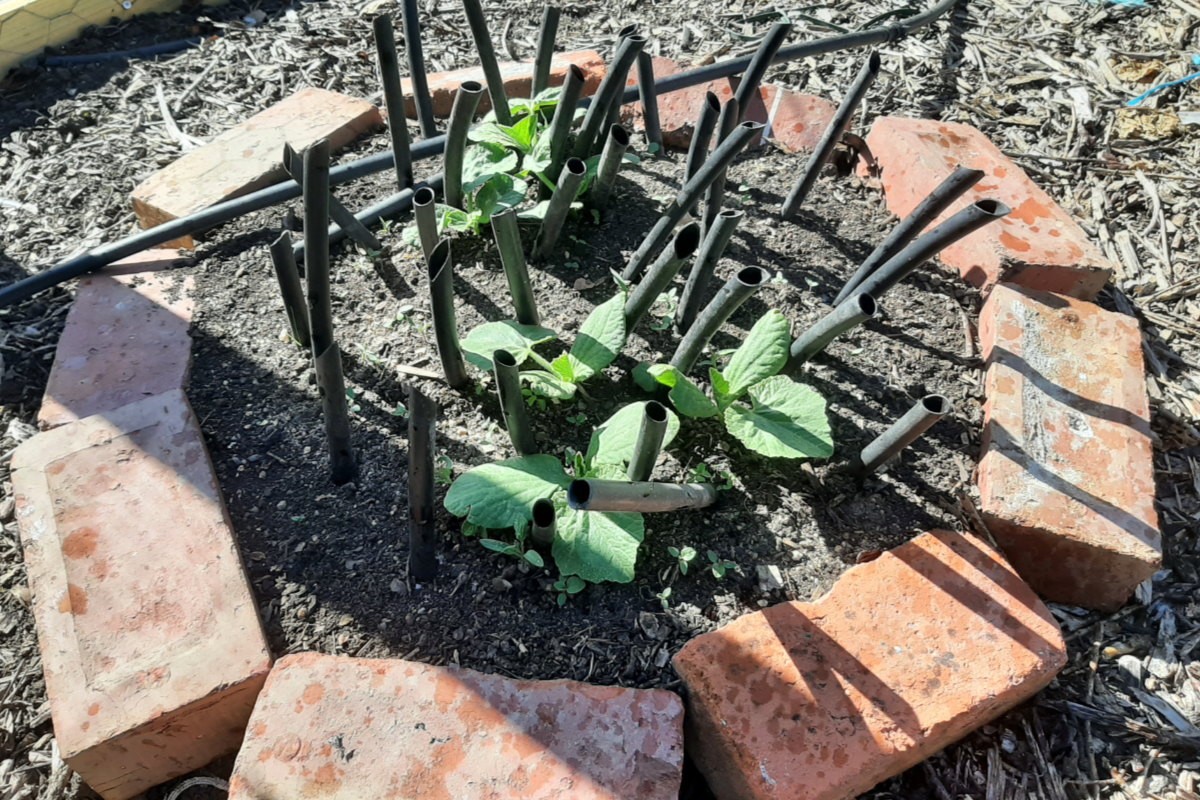
The traditional distances for planting corn vary from 20 to 25 cm apart with 60 to 100 cm between rows.