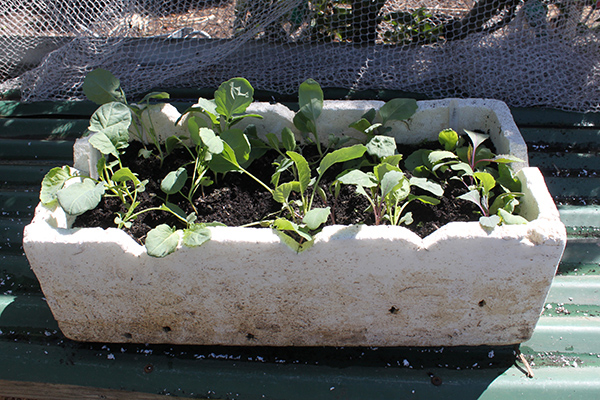

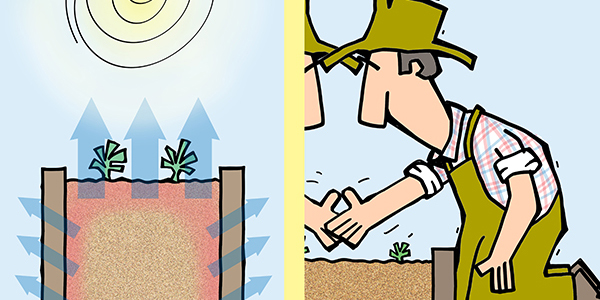
This page explains how the width and heights of raised beds influence temperature, evaporation and accessibility. RAISED BED WIDTHS Ideally
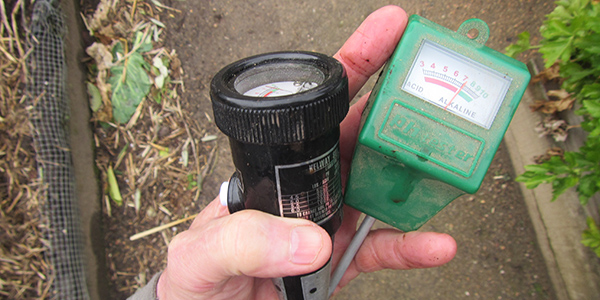
Testing the pH (measurement of acidity or alkalinity) of soil is an important tool in managing a vegetable patch. This

This Cool Mountainous monthly planting guide is based on information drawn from six planting guides for South Eastern Australia, both