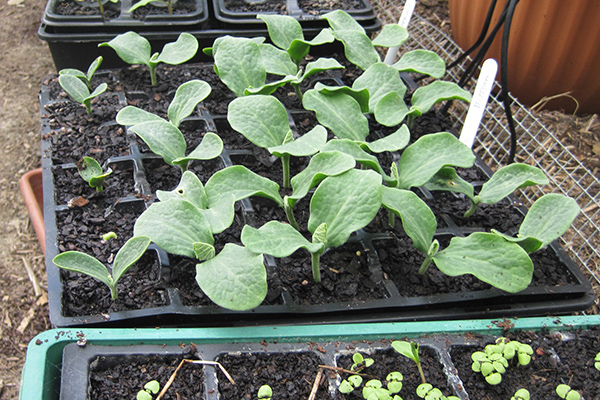

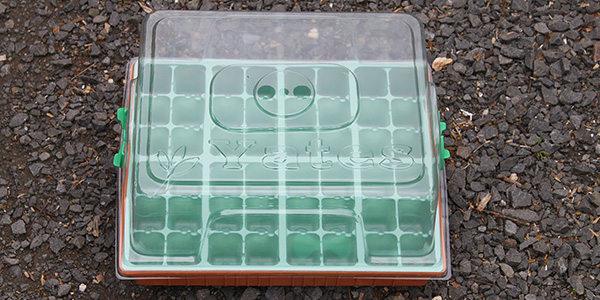
The standard commercially made seedling propagating boxes that are widely available at Australian nurseries and hardware stores (such as the

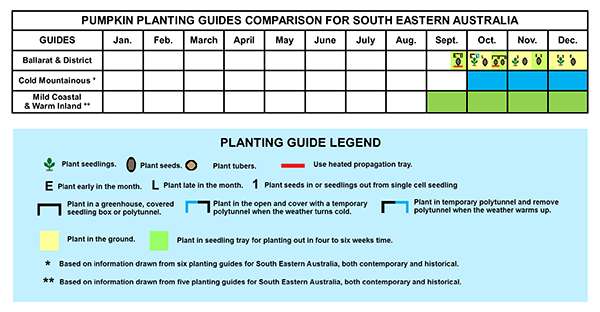
This Ballarat & District planting guide was put together by John Ditchburn with input from a number of experienced vegetable

There are several garden tools you can use to turn the soil of a vegetable bed, but by far the